Skincare routines are a relaxing form of self-care, but facials, in particular, are an essential part of a healthy self-care routine.
Materials
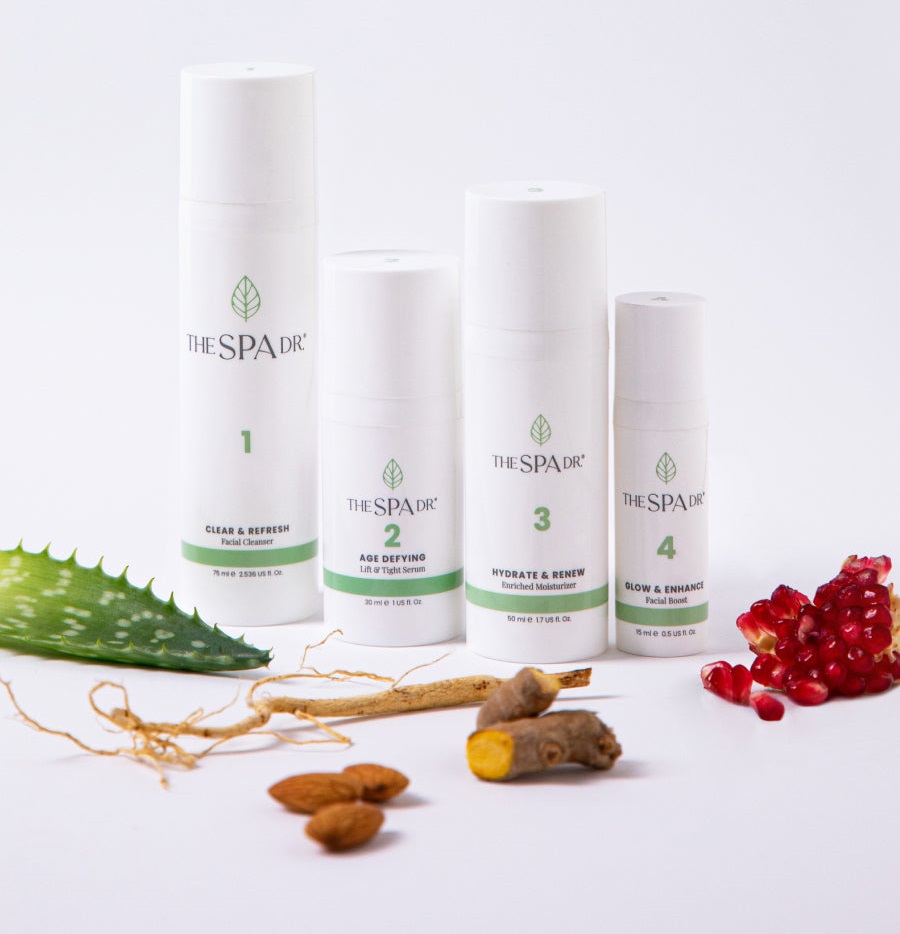
4-Step Age-Defying Clean Skincare System
- 1 bottle Step 1 – CLEAR & REFRESH Facial Cleanser
- 1 bottle Step 2 – AGE DEFYING Lift & Tight Serum
- 1 bottle Step 3 – HYDRATE & RENEW Enriched Moisturizer
- 1 bottle Step 4 – GLOW & ENHANCE Facial Boost
Additional Items/Tools
- 1 use BAMBOO & ROSE Facial Exfoliant
- 1 Konjac Facial Sponge
- 1 clean/new makeup brush (optional)
- 1 Gua Sha Facial Tool (optional)
- 1 clean soft washcloth
- 1 bowl hot water (optional – add a drop of lavender oil for extra relaxation)
- 1 dry towel
Self-Facial Instructions
Intro Dip a soft washcloth into a bowl of hot water (infused with lavender for added relaxation). Wring out and apply to face. Linger for a few moments while applying a gentle squeeze. Take slow deep breaths. Move the washcloth down the neck to the chest and apply pressure. Set washcloth aside.
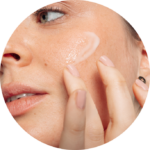
Cleanse: Apply a couple of extra pumps of the CLEAR & REFRESH Facial Cleanser to your damp face and chest in a thick layer. Treat this like a mask. Once evenly distributed, work slowly into the skin with your fingertips. Focus movements into areas with fine lines and wrinkles, clogged pores, or problem areas. Don’t forget your eye make-up! Splash warm water onto the face (to activate Aloe) and continue movements. With the Konjac sponge, work in circular motions to remove the cleanser. Rinse the sponge and repeat as needed.
Cleanse with Exfoliation: Mix a small amount of BAMBOO & ROSE Facial Exfoliant (or your own DIY exfoliant) with 2 pumps of CLEAR & REFRESH Facial Cleanser in the palm of your hand. Apply to the face neck and chest. Moving in small circles, work exfoliant into the skin, focusing on trouble spots (hyperpigmentation, impactions, dry patches, fine links/wrinkles, etc.) With the Konjac sponge, work in circular motions to remove. Rinse the sponge and repeat as needed. Wipe your face with the washcloth to remove any excess particles.
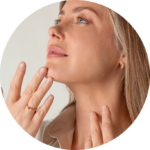
Eye and Lip Treatment: Apply 1 pump of AGE DEFYING Lift & Tight Serum to the back of the hand. Using a small brush (or fingertips), apply serum under the eyes and around the orbital bone on the brow line. Remember the temple area! Then apply serum around the lips in small circles. Using ring fingers and thumbs, apply soft little pinches around the eyes and lips. Finish with small little taps with the tips of your fingers.
Serum: Apply a couple of pumps of AGE DEFYING Lift & Tight Serum to the face, neck, and chest. Use fingers to gently tap and pat the serum into the skin. Work in upward motions to fight gravity!
Moisturizer: Mix a few pumps of HYDRATE & RENEW Enriched Moisturizer with a couple of drops of GLOW & ENHANCE Facial Boost in the palm of your hand and massage into the skin. Massage the face in slow movements with added pressure for as long as needed. Remember to take deep breaths and relax. Thank yourself!
Self-Facial
Learning to take care of some of our beauty needs (like self-facials) at home is a great way to improve our self-care. Home facials and massages are a relaxing form of self-care, but facials, in particular, are an essential part of a healthy skincare routine. That’s why today, I’m sharing this step-by-step guide on how to do self-facial at home for a fresh, rejuvenated complexion. So, get ready to get glowing with The Spa Dr. self-facial treatment!
To get started, set up a bowl of hot water infused with lavender for added relaxation. To experience the full benefit of this at-home self-facial, make sure to take slow deep breaths throughout. Then:
- Dip a soft washcloth into the bowl of hot water and wring out excess water.
- Gently dab the wet washcloth against your face, neck, and décolleté (chest).
- Take a few extra moments to linger over each area while using the washcloths and apply even, gentle pressure.
- Once your skin is damp and you are relaxed and ready to start the DIY facial, set the washcloth aside.
Cleanse
An essential first step of a self-facial is to cleanse the skin. If you have makeup on, you might want to do a double cleanse to be sure to remove any makeup and dirt remnants to create a fresh, clean canvas for the skin care products to do their job. To cleanse:
- Apply a couple of extra pumps of the CLEAR & REFRESH Facial Cleanser to a damp face and chest in a thick layer. Be sure to treat this like a mask.
- Once evenly distributed, slowly work the product into the skin with your fingertips using circular motions. Spend some extra time massaging the cleanser into fine lines, wrinkles, clogged pores, or problem areas.
- Splash your face with a little warm water to activate the aloe, and then continue the circular motions.
- To remove the cleanser, use a konjac sponge, and work in circular motions.
- Rinse the sponge and repeat as needed until your skin is clean.
Exfoliate
Exfoliation will slough off the top layer of skin cells and help bring fresh young skin cells to the surface to create a healthy, glowing complexion. Also, by removing dead skin cells, you will ensure you get the most out of your products’ excellent ingredients because they can penetrate and do their job. Start by mixing a small amount of a gentle exfoliant with 2 pumps of CLEAR & REFRESH Facial Cleanser in the palm of your hand. Then:
- Apply the mix to your face, neck, and décolleté – moving in small circles to gently work the exfoliant into the skin. Be sure to focus on trouble spots such as hyperpigmentation, impactions, dry patches, and fine lines/wrinkles.
- To remove, use the konjac sponge to work in circular motions.
- Rinse the sponge and repeat until your skin is clean. If exfoliant particles remain, use a warm wet washcloth to remove the rest.
Eye and Lip Treatment
Applying a nutrient-rich serum to these delicate areas of the face is an excellent remedy to help hydrate, rejuvenate, and nourish sensitive skin. Apply:
- 1 pump of AGE DEFYING Lift & Tight Serum to the back of your hand.
- Eyes – Use a small brush (or your fingertips) to apply the serum under your eyes and around your brow line’s orbital bone. Remember the temple area!
- Lips – Apply the serum around your lips in small circular motions.
- Use your ring fingers and thumbs to apply soft little pinches around the eyes and lips.
- Finish with small tapping motions over the eyes and lips, using the tips of your fingers.
Serum
Using a serum all over is the best way to hydrate and nourish your skin to combat early aging, stress, environmental toxins, and inflammation. Delicately:
- Apply a couple of pumps of AGE DEFYING Lift & Tight Serum to your face, neck, and décolleté.
- Use your fingers to pat and tap the serum into your skin gently.
- Stroke your skin in upward motions to fight gravity!
Moisturize
The overall goal of a moisturizer is hydration and protection. Mix a few pumps of HYDRATE & RENEW Enriched Moisturizer with a couple of drops of GLOW & ENHANCE Facial Boost in the palm of your hand and:
- Work into your face, neck, and décolleté using slow upward sweeping movements with added pressure for as long as you’d like.
Massage
The massage is the most relaxing part of your self-facial and is full of benefits for your skin. The massage encourages blood flow and cellular activity, which stimulates collagen production and aids lymphatic drainage. To optimize the massage, you’ll want to move in up-and-out motions. Think “up for collagen production” and “out for lymph node drainage.” To Start the massage:
- Add more serum or moisturizer if needed
- Use up-and-out sweeping motions
- Take your time
- Indulge in the moment
- Breath deeply
- Thank Yourself!
Ready to do your own Self Facial? Get the Skin Care Collection:


Reader Interactions